There’s a certain satisfaction that comes with doing something yourself like putting together a security system for your home. Wired Security System DIY It’s not just about saving money but about knowing every wire, camera, and connection is exactly where you want it to be. And when it’s done right, that sense of accomplishment is hard to beat.
But setting up a wired security system isn’t just about running cables and mounting cameras. There are key details that can make or break your setup. Missing these could lead to blind spots or even system failures, something no homeowner wants.
Curious about what you need to know before diving into a DIY project? Stick around, and let’s explore the essential steps and tips to make sure your system works exactly how you expect it to.
What Is a Wired Security System DIY?

A wired security system uses cables to connect cameras, sensors, and a central hub like a DVR (digital video recorder) or control panel. Unlike wireless systems that rely on Wi-Fi, a wired setup provides consistent performance without signal interference. A DIY installation means you’ll handle everything from running cables through walls to mounting cameras giving you full control over the process.
Choosing to install your system saves money on labor, but it also means understanding every detail. With a little patience and planning, though, it’s something you can confidently tackle.
Benefits of Installing a Wired Security System DIY
1. Reliable Connectivity Without Interruptions
Wired systems offer rock-solid connections that don’t depend on Wi-Fi. With every camera and sensor directly connected to your DVR or hub, there’s no risk of signal drops or interference, even in large homes. When reliability matters like in areas prone to Wi-Fi disruptions a wired setup delivers peace of mind.
2. Save Money on Installation Costs
Hiring a professional to install a wired security system can get expensive. But by doing it yourself, you only pay for the equipment. The labor becomes an investment in your skills, and the money saved can go toward upgrading your cameras or expanding your system over time.
3. Customize the Setup to Fit Your Home
A DIY installation lets you decide where every camera and sensor goes. You know your home best, and with full control, you can cover all entry points, blind spots, and vulnerable areas. This level of customization ensures you’re not limited by a one-size-fits-all solution.
4. Longer Lifespan and Minimal Maintenance
Wired systems are known for their durability. With fewer components relying on batteries or Wi-Fi, you won’t need frequent replacements or troubleshooting. Once installed, your system can run for years with minimal maintenance, making it a long-term security solution.
Tools and Equipment Needed for a Wired Security System DIY
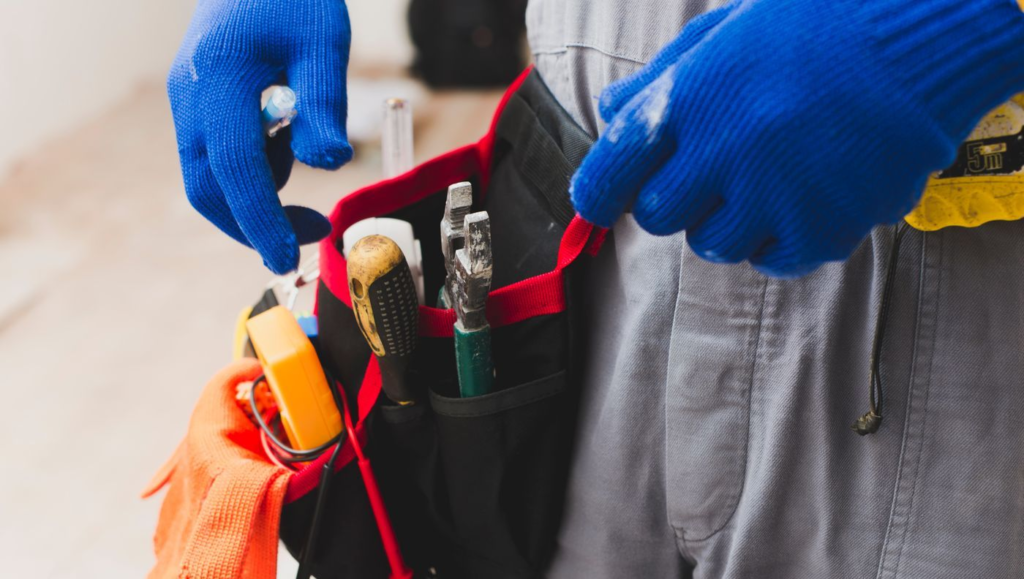
Before starting, gather the essential tools to make the process smoother:
- Cables: Ethernet or coaxial cables
- Mounting Tools: Drills, screws, and brackets
- Cameras and Sensors: Based on your security needs
- Control Panel/DVR: For storing footage and monitoring activity
- Power Supply Options: Backup batteries or adapters for uninterrupted operation
Having everything ready ensures you don’t have to pause mid-project to find tools or parts.
Key Steps for Installing Your Wired Security System DIY
1. Plan Your Layout and Identify Key Areas
Start by deciding where you want cameras and sensors. Think about entry points like front doors, garages, and windows. Consider installing cameras with a clear view of your driveway or backyard for complete coverage.
2. Run the Cables and Minimize Clutter
Running cables is often the most challenging part. Use cable ties and clips to keep wires neat and out of sight. If needed, run them through walls or ceilings for a clean, professional look.
3. Mount Cameras and Sensors Correctly
Position cameras at strategic angles to capture the widest view. Avoid placing them too high, as that can limit visibility. Make sure sensors cover doors, windows, and any vulnerable spots around your home.
4. Connect Everything to the DVR or Control Panel
Once the hardware is in place, connect the cameras to the DVR using the cables. Make sure everything is powered correctly and test each connection to ensure smooth video streaming.
5. Configure Alerts and Notifications
Set up the system to send alerts directly to your phone in case of unusual activity. This allows you to monitor your home remotely, even when you’re away.
Addressing Common Issues in Wired Security System DIY Projects

Even with careful planning, issues can arise. Here’s how to handle a few common ones:
- Loose Connections: Double-check that all cables are securely connected.
- Poor Video Quality: Adjust camera angles and clean lenses for clearer footage.
- Access Issues: Ensure the DVR is correctly connected to your home network for remote access.
- Power Interruptions: Consider a backup power supply to keep your system running during outages.
Tips to Maintain Your Wired Security System DIY Setup
- Inspect Cables Regularly: Ensure they remain secure and undamaged.
- Clean Camera Lenses Periodically: Dust and debris can affect image quality.
- Test Alerts Every Few Months: Make sure your system is sending notifications as expected.
- Update Software and Firmware: Stay on top of any updates to keep your system running smoothly.
Wired vs. Wireless: Which System Is Better for Your Home?
Both wired and wireless security systems have their pros and cons.
- Wired Systems: Known for reliability, especially in homes with Wi-Fi dead zones or large layouts.
- Wireless Systems: Easier to install, with flexible camera placement options.
If you want uninterrupted performance and don’t mind the effort of installation, wired systems are the way to go.
Conclusion
A wired security system DIY installation offers control, reliability, and long-term value but it does require time and effort. With proper planning and the right tools, it’s a project that any homeowner can tackle.
Start planning your Wired Security System DIY project today and enjoy the benefits of a system tailored to your needs.



2 comments
What’s Happening i am new to this, I stumbled upon this I’ve found It absolutely useful and it has aided me out loads. I hope to contribute & assist other users like its helped me. Good job.
Thank you
Comments are closed.