Did you know that most burglars don’t break down doors? About 34% walk right through the front door, 22% sneak in the back, and 23% climb through a window.

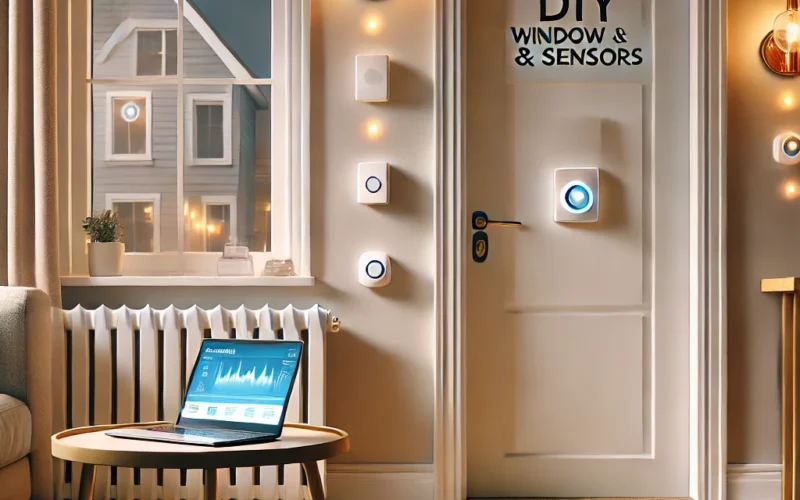
Locks are great, but they’re not always enough. That’s why you need DIY window and door sensors. These devices let you know the second someone opens a door or window, giving you time to act before anyone gets inside.
In this guide, we’ll discuss why diy window and door sensors matter, how they work, and how to set them up all by yourself in minutes.
Let’s get started!
Why Every Home Needs Window and Door Sensors

Break-ins don’t just happen at night. Most burglaries occur during the day when homeowners are away at work or running errands. Thieves often target unlocked windows and doors. And here’s why DIY window and door sensors are a must-have:
- Instant Alerts for Better Security
Once installed, these sensors alert you right away if a door or window opens, no matter where you are. - Versatile Uses Beyond Security
These sensors don’t just stop burglars — they help you keep an eye on everything. Get alerts when kids or pets open doors or windows, know if a door is left open at night, and secure places like garages, sheds, or cabinets to protect your valuables.
- Affordable, Hassle-Free Protection
Unlike expensive home security systems, DIY sensors are budget-friendly and don’t require professional installation or monthly fees. Plus, they fit right into your home without additional costs.
How Do Window and Door Sensors Work?
Window and door sensors work with a simple magnetic system. Here’s how they function:
- The sensor consists of two parts—one is placed on the door or window, and the other on the frame.
- When the door or window is closed, the magnetic connection stays intact.
- If the door or window is opened, the magnetic connection breaks, triggering an alarm or sending an alert.
Many DIY sensors now connect to Wi-Fi or Bluetooth, allowing you to get alerts directly to your phone or home security system.
Choosing the Right DIY Window and Door Sensors
Before you buy, consider these important features to help you choose the best sensor for your home:
- Wireless vs. Wired Sensors
- Wireless sensors: Battery-powered, easy to install, and require no drilling.
- Wired sensors: Require professional installation but provide continuous power.
For DIY users, wireless sensors are the ideal choice because they’re simple and require no complex setup.
- Standalone vs. Smart Sensors
- Standalone sensors: Trigger an alarm when activated, but don’t connect to an app.
- Smart sensors: They send alerts to your phone and work with systems like Ring, Alexa, or Google Home. For remote monitoring, smart sensors are a great choice.
- Battery Life & Power Source
Look for sensors with long battery life (6 months to 2 years) to avoid frequent replacements. Rechargeable options are a great way to skip disposable batteries altogether. - Sensitivity & Range
Choose a sensor with adjustable sensitivity to avoid false alarms from things like strong winds or vibrations.
How to Install DIY Window and Door Sensors (Step-by-Step Guide)
One of the best things about DIY sensors is that installation is quick and simple. Here’s a straightforward guide to get you started:
- Choose Where to Place the Sensor
- Front & back doors: The most common entry points for burglars.
- Windows on the first floor: Especially those that are hidden from street view.
- Garages & basement doors: Often overlooked but can be easy points of entry.
- Clean the Surface
Before attaching the sensor, clean the door or window and frame with a dry cloth to remove dust and ensure a secure grip. - Attach the Sensor
- Place the main sensor unit on the door/window frame.
- Stick the magnet piece on the moving part of the door or window.
- Make sure they’re properly aligned and close enough to connect. Most sensors come with adhesive backing, so no tools are required. If extra security is needed, use small screws where provided.
- Test the Sensor
- Close the door/window – the sensor should remain silent.
- Open the door/window – the alarm should sound, or a notification should be sent.
- Connect to Your Smart Home System (If Applicable)
For Wi-Fi or Bluetooth sensors, follow the manufacturer’s instructions to sync the device with your phone or security hub.
Now, your home is protected 24/7, and you did it all yourself!
Final Thoughts
With crime rates on the rise, securing your doors and windows shouldn’t be an afterthought. DIY window and door sensors provide instant, affordable protection and peace of mind—with no cost or professional assistance.
So why wait? Get your DIY window and door sensors done in minutes! Visit Home Secure HQ for more expert advice!

