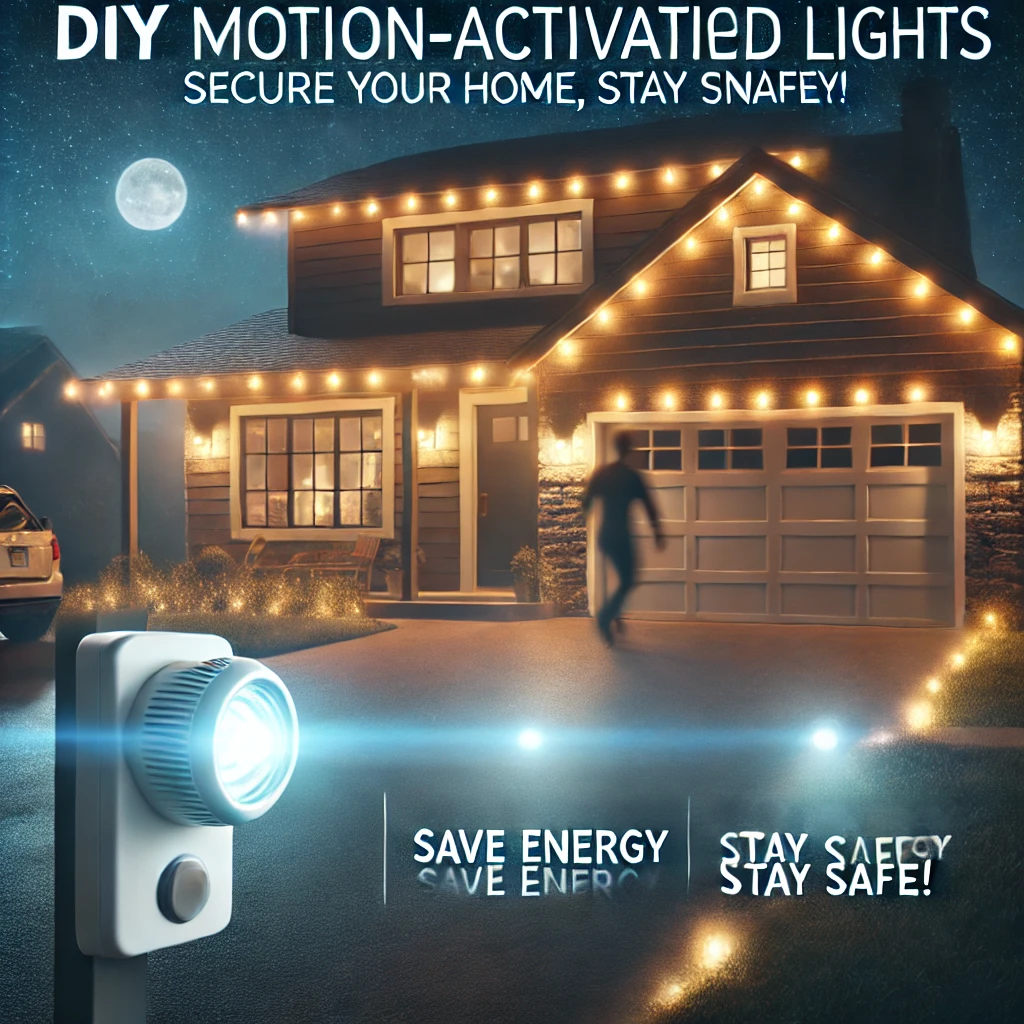
Keeping your home safe doesn’t have to be hard or expensive. DIY Motion–activated light is an easy way to light up your yard, protect your home, and save money on electricity.
These lights turn on automatically when they sense movement, helping to keep intruders away and lighting your way when you need it. They only use power when needed, which means you won’t waste electricity.
In this guide, we’ll explain how DIY motion-activated lights work, why they’re a must-have for your home, and how you can set them up yourself—quickly and easily.
Why Motion-Activated Lights Are a Must-Have for Home Security
- Stop Intruders Before They Get Close: Burglars love the dark — it helps them sneak around unnoticed. Motion-activated lights instantly the turn on the second someone steps onto your property. The sudden burst of light can scare off intruders before they even get near your door. A well-lit home is much less likely to be targeted.
- Save Energy and Cut Costs: Leaving outdoor lights on all night wastes electricity and drives up your bill. Motion-activated lights only turn on when needed, saving energy and money. LED versions last longer and don’t need to be replaced as often, which means even more savings.
- Make Life Easier for You and Your Guests: These lights are all about convenience. Ever fumbled with your keys in the dark? Motion-activated lights brighten your porch or driveway as soon as you walk up. It’s safer and makes it easier for guests or delivery drivers to find your home at night.
- Keep Your Home Safe Inside: Motion lights aren’t just for the yard. Put them in hallways or bathrooms to help prevent trips and falls at night. They’re great for kids, older family members, or anyone who struggles to see in the dark. With motion-activated lights, you get safety, convenience, and savings — all in one.
How to Choose the Right DIY Motion-Activated Lights
Now that you know why motion-activated lights are so useful, let’s talk about how to pick the best ones for your home. Here are four important things to think about:
1. Where Do You Need Them?
Think about where you want to place the lights:
- Entry points (front door, back door, garage)
- Driveways or pathways (to light up the way at night)
- Backyard or side yard (to scare off trespassers)
- Indoors (hallways or bathrooms to prevent falls)
2. Types of Motion Sensor Lights
There are a few types of motion-activated lights to choose from:
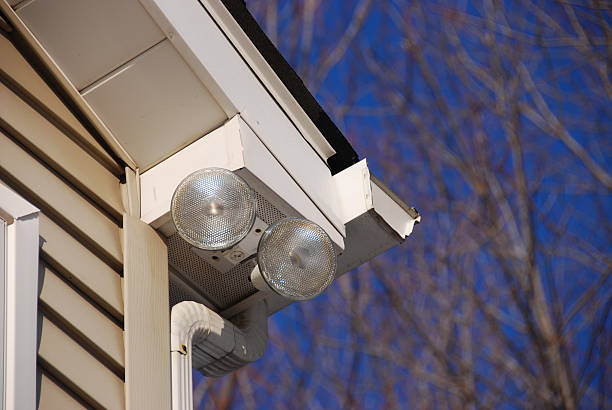
- Hardwired: These need to be installed into your home’s electrical system but are great for long-term use outside.
- Battery-powered: Easy to install anywhere, no need for an outlet.
- Solar-powered: These lights use sunlight to charge and are great for energy savings.
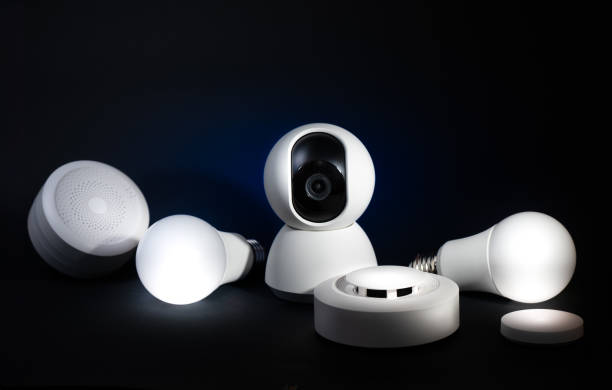
- Smart lights: You can control these with your phone and set schedules or get notifications when they detect movement.
3. How Far Do You Want Them to Detect Movement?
Motion sensor lights can detect movement anywhere from 10 to 70 feet away. Pick a light that matches the area you want to cover. Some lights also let you adjust how sensitive they are, so they don’t turn on for small animals like pets.
4. Brightness and Type of Light
Lights come in different brightness levels, measured in lumens:
- 100–300 lumens: Good for small spaces like closets.
- 500–1,500 lumens: Ideal for porches or driveways.
- 2,000+ lumens: Best for large areas, like floodlights for security.
For outdoor use, go with bright LED lights—they use less power and provide good visibility.
How to Install DIY Motion-Activated Lights: A Step-by-Step Guide
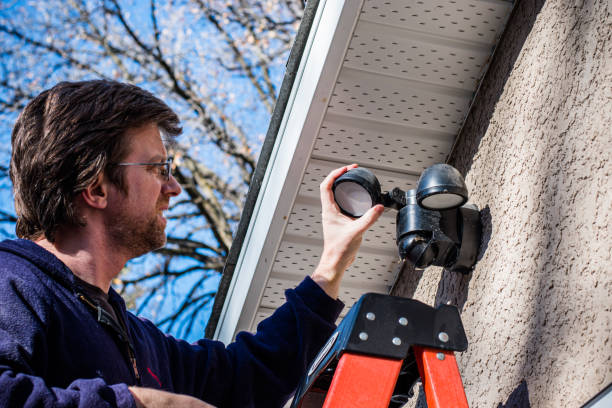
Installing motion-activated lights is easier than you think! Follow these simple steps:
1. Pick the Right Spot
Install the light about 6–10 feet above the ground. This height gives the best coverage and makes it harder for people to tamper with it.
2. Turn Off the Power (for Hardwired Lights)
If you’re installing a hardwired light, make sure to turn off the power at your main circuit box to avoid any electrical risks.
3. Mount the Light
For battery or solar lights, simply screw or stick them to a wall or post. For wired lights, follow the instructions to connect them to your home’s electrical system.
4. Adjust the Settings
Most motion lights let you adjust:
Detection range: How far away movement will turn on the light.
Sensitivity: How sensitive the sensor is, so it only activates for people (not pets).
Light duration: How long the light stays on after detecting movement.
5. Test the Light
Walk around the area to make sure the light turns on when you want it to. Adjust the settings if necessary.
Final Thoughts
DIY motion-activated light is an easy way to protect your home and save on energy costs.
They’re affordable and simple to install, so why not get started today? No professional assistance needed! With just a few motion-activated lights, you can make your home safer and more energy-efficient.
Visit Home Secure HQ for everything home related.