Ever missed an important visitor? Ever had friend, a delivery guy, or even a client stands at your gate — knocking, clapping, calling… and eventually leaves frustrated?
Or maybe you’ve been home, but you didn’t hear them. All because you don’t have a doorbell. DIY doorbells fix that
You can set them up all by yourself without any complicated wiring and professional assistance.
In this guide, we’ll discuss why you need a DIY doorbell, the best types of DIY doorbells and their features and lastly, a step-by-step guide to installing one yourself.
Let’s get started!
Why You Need a DIY Doorbell
A doorbell may seem like a small detail, but it’s an important part of home security and convenience.
Traditional doorbells can be outdated or broken and may leave you unaware of visitors, deliveries, or unwanted guests.
With DIY Doorbells Installed, you will:
- Never miss a guest, delivery, or service worker again
- Hear the chime from anywhere in your home
- Deter package thieves and unwanted visitors
- Choose from wireless, smart, or motion-activated options
- Install in minutes with no need for drilling, wiring, or expensive installation
Now let’s talk about the best options available!
Best Types of DIY Doorbells
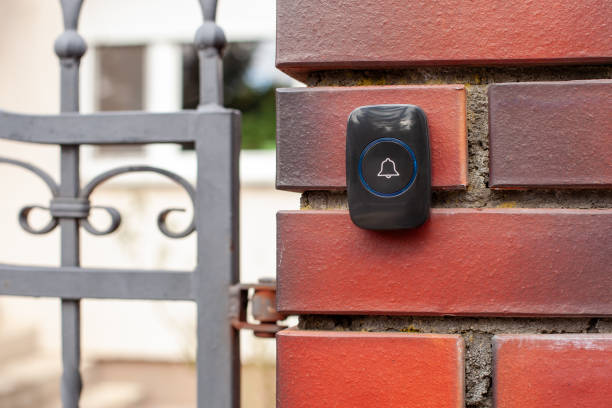
1. Wireless Doorbells
- Battery-powered or plug-in receivers
- Easy to install without wiring
- Multiple chime options and adjustable volume
Best for: Renters, apartments, or homes without existing doorbell wiring
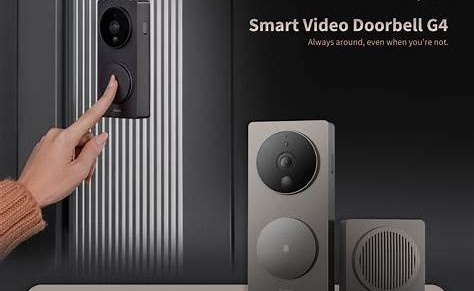
2. Smart Video Doorbells
- Streams live video to your smartphone
- Two-way audio for communication
- Motion detection alerts, even without someone ringing
Best for: Homeowners seeking security and remote access
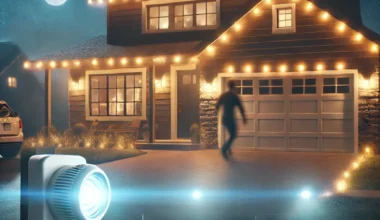
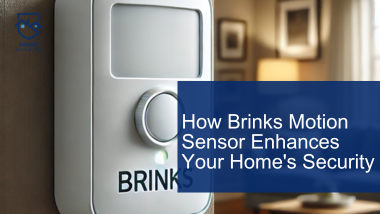
3. Motion-Activated Doorbells
- Rings automatically when someone approaches
- Helps track package deliveries and unexpected visitors
- Often paired with security cameras or lights
Best for: Front porches and high-traffic entryways
4. DIY Wired Doorbells
- Uses existing doorbell wiring for a constant power source
- Offers classic chime sounds or customizable tones
Best for: Homes with existing doorbell wiring that need an upgrade
How to Install DIY Doorbells (Step-by-Step Guide)
Step 1: Choose the Right Spot
- Install the doorbell around 4 feet above the ground for easy access
- Ensure a clear view of your entryway, especially for video doorbells
- Avoid direct sunlight for smart video doorbells to prevent glare
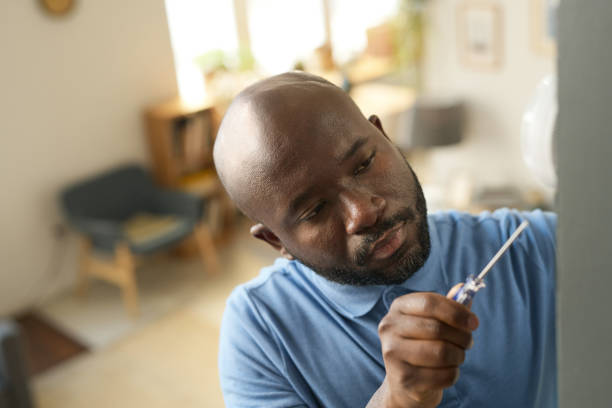
Step 2: Mount the Doorbell
- Wireless models: Use adhesive backing or screws to secure it
- Smart doorbells: Attach the mounting bracket and align the camera
- Wired models: Turn off the power, remove the old doorbell, and connect the wiring
Step 3: Power It Up
- Wireless doorbells: Insert batteries or plug the receiver into an outlet
- Smart doorbells: Charge the battery or connect to your home’s power supply
- Wired doorbells: Restore power and test the connection
Step 4: Sync with Your Home System
- For smart or wireless doorbells, connect to your phone and set up alerts
- Adjust motion sensitivity, chime volume, and integrate with Alexa or Google Assistant for more convenience
Step 5: Test Your DIY Doorbell
- Press the button to check that the chime or video feed works
- For motion-activated doorbells, walk in front of it to test the sensor
- Check notifications on your smartphone for smart video doorbells
Troubleshooting Common Issues
Delayed notifications: Check app settings or reset the device
Weak signals: Use a Wi-Fi extender or move the receiver closer to the router
Final Thoughts
DIY doorbells are an easy and budget–friendly alternative to professionally installed home security systems. Regardless of which one you opt for — either a simple wireless doorbell or a high-tech video version — installation takes just minutes, no professionals required.
With the right DIY doorbells, you’ll never miss another important visitor, delivery, or unexpected knock again.
Set up your DIY Doorbells now and never miss a package or visitor! Visit Home Secure HQ for more DIY home security systems tips.